By My Side Holster LLC Mounting Instructions
Locate a flat, solid and non-porous
surface to mount the Standard or Wide Holster Rest.
The Holster Rests are to be mounted
only in a vertical position with the gun barrel pointed
downward.
Do not mount on any surface above a bed
or any area above your head. Do not mount on surfaces with
vinyl or paper wall covering. Clean the mounting base of the
Holster Rest and the solid non porous surface with
Isopropyl Alcohol. Let both areas dry.
Only use the Command (R) Strips that
are included in this package to mount the Holster Rest.
Additional strips may be purchased separately.
Take the Command (R) Strip in your hand
and orientate so the rounded portion is at the bottom.
Remove the paper cover with red printing on the adhesive
strip and position the exposed adhesive strip on the Holster
Rest by centering on the mounting base, approximately 1”
below the top of the Holster Rest. The rounded portion of the adhesive
strip will extend approximately 9/16” below the bottom of
the Holster Rest Base. Apply hand pressure to the adhesive
strip to insure adhesion of the adhesive strip to the
mounting surface of the Holster Rest.
Remove the paper cover with black
printing on the adhesive strip to expose the adhesive strip.
Secure the Holster Rest to the proper mounting surface by
placing the Holster Rest in the desired location and apply
hand pressure to the inside surface of the mounting base on
the Holster Rest. Do not apply
pressure by pressing on the arms that extend from the
Holster Rest.
The Holster Rest is now mounted. Wait 1 hour before use.
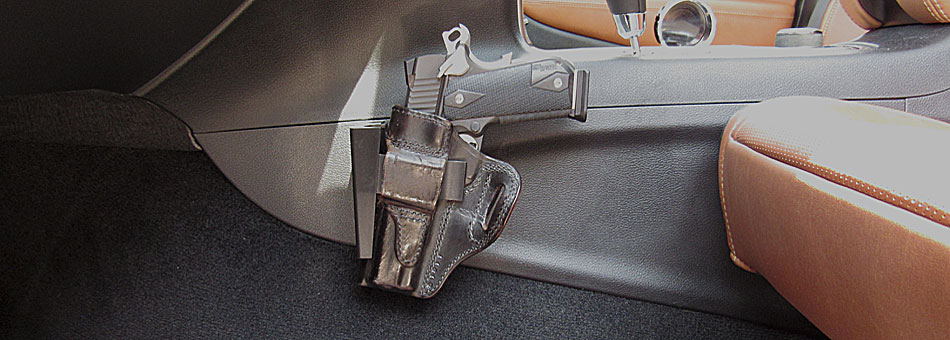
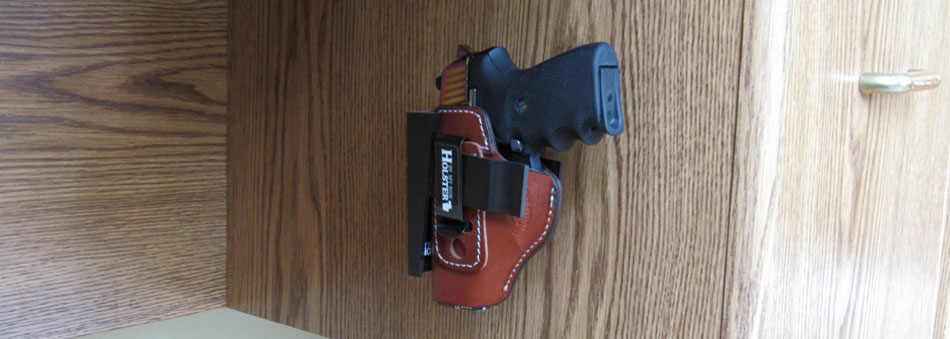
How to place a holster in the Holster
Rest
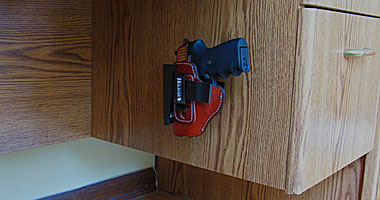
Take a Holster in the vertical position
and place the belt loop(s) or clip(s) of the holster onto the arm(s) of
the Holster Rest.
Note: Some holster with plastic or
metal belt loops may require you to load the holster from
the top of the Holster Rest by opening the belt loop and sliding it
onto the arm(s). Continue to slide the holster forward; the
arm(s) will pass through the belt loop(s) or clip(s). Slide the holster
forward until fully engaged in the Holster Rest.
Your Holster is now ready to use.
How to remove the holster from the
Holster Rest
Remove gun from holster. Carefully
slide holster straight back out of Holster Rest to disengage from
the arms securing the Holster. Note:
Some holster with
plastic or metal belt loops may require you to remove the
holster from the top of the Holster Rest by opening the belt loop
and sliding in up and out the arm(s).
How to remove the Holster Rest from
the mounting surface
Remove the gun from the holster. Remove the holster from the
Holster Rest.
Locate the round tab at the bottom of
the adhesive strip that secures the Holster Rest to the
mounting surface. While holding the Holster Rest at the
sides grasp the round tab of the adhesive strip and pull
straight down-Do Not Pull strip towards you. Continue
stretching the adhesive strip tab in a downward direction
approximately 8”-15”until the adhesive strip releases the
Holster Rest from the mounting location. The Holster Rest
is now removed from the mounting surface. Properly dispose
of the removed adhesive strip.
Always use a new adhesive strip to
mount the Holster Rest in a new location.
Do not exceed 4lbs. total weight
including the Holster Rest.
Apply only to surfaces above 50°F and
below 90°F
Please read
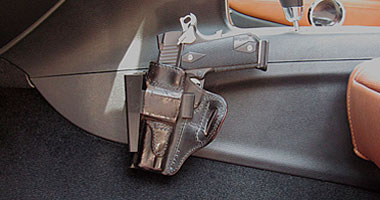
If you are installing your Holster Rest in a vehicle
without the Side Mount Adapter, the use of the Adhesion
Promoter is still required. The Adhesion Promoter is
necessary to provide proper adhesion to the plastic
components inside your vehicle. The Adhesion Promoter is
included in the Side Mount Adapter Kit and is also available
for purchase separately.
